What you need before we start:
1. A USB stick formatted to FAT32. (Preferably genuine Kingston and no larger than 8GB in size to prevent
compatibility issues while flashing the image).
2. Image of your choice.
3. Compression software such as 7zip.
4. HP Format tool (not essential but recommended)
5. Teracopy (not essential but recommended)
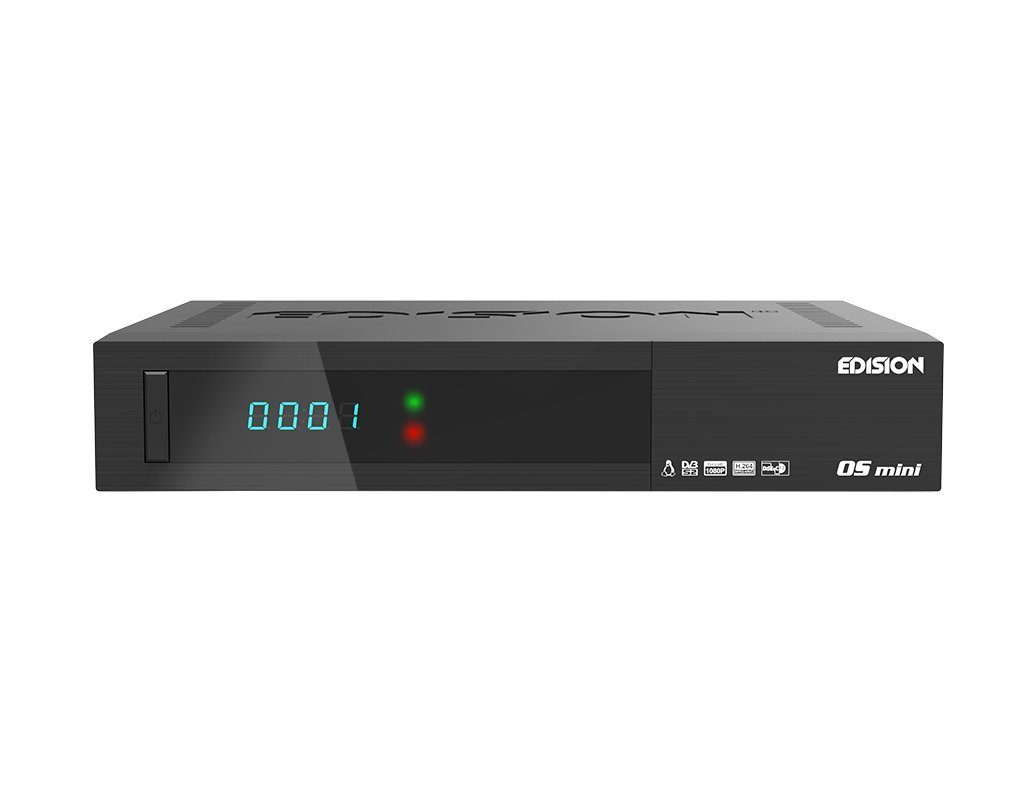
For this tutorial we will be using
1. Format a USB stick to FAT32.
2. Download the image of your choice and extract it to your desktop.
3. Open the folder you extracted to your desktop,
another folder named osmini, this is the stick.
Flashing the Receiver.
1) Power off the receiver
2) Ensure no other USB devices are plugged into the receiver
3) Insert the USB stick containing the image files into one of the USB ports on the receiver, rear USB port is advised if possible.
4) Power the receiver on.
5) You will be prompted on your TV screen to press and hold down ‘OK’ button on your REMOTE to commence the
flashing process. The flashing process will then commence and progress show on TV screen.
6) If successful the receiver will reboot it self after the flashing process has completed.
7) Remove USB stick that contains the images files.
The flashing process should take approximately two it is important that you DO NOT power the receiver down for any reason as this can cause serious and or permanent
damage.
If the receiver bypasses the flash files on the USB stick and boots
check that the file structure is correct on the USB stick or try formatting the USB stick using the above mention HP
Format tool or try and alternative USB stick.


